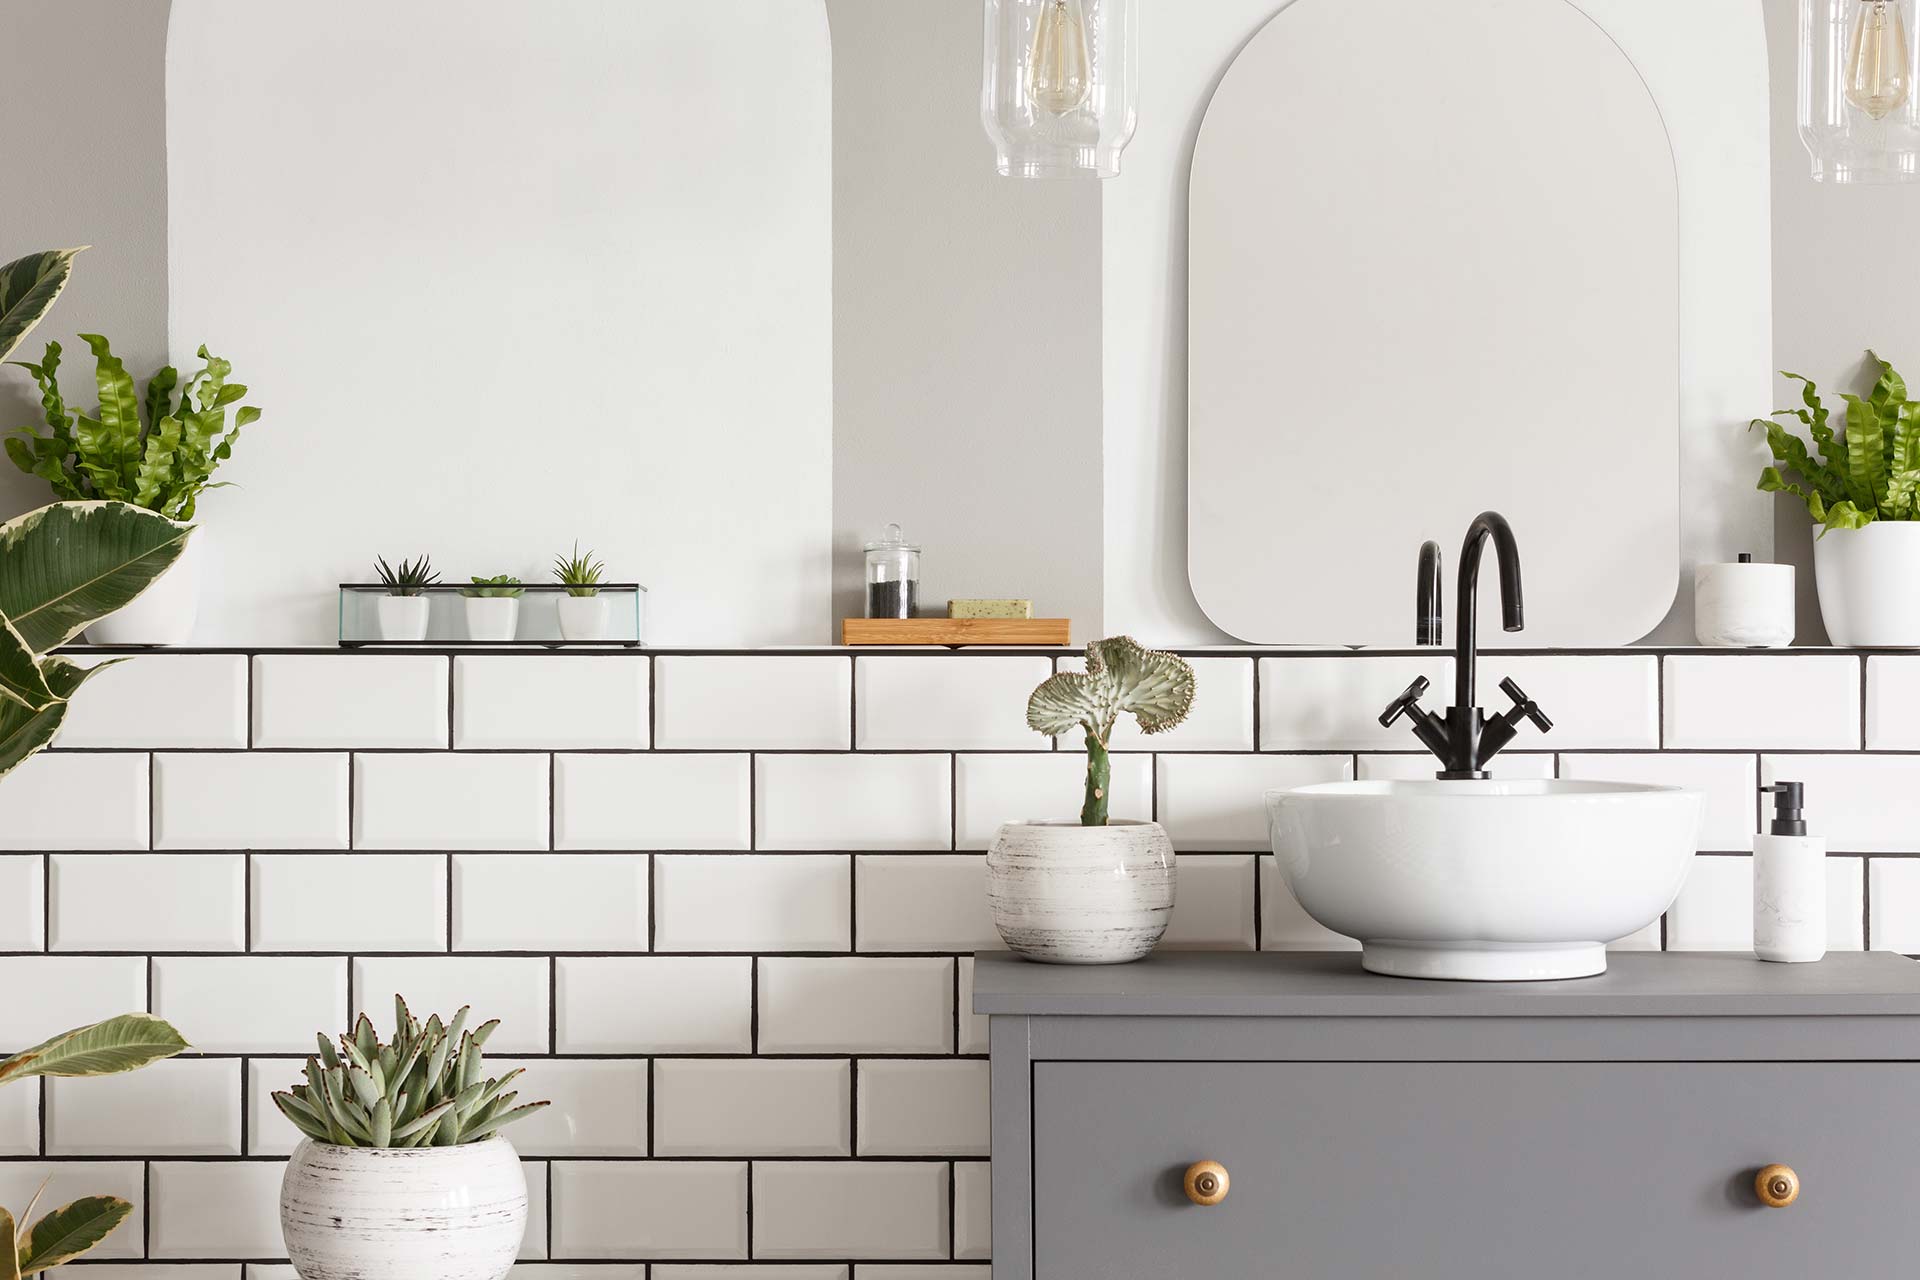
A kitchen backsplash is one of the items which is installed towards to end of a kitchen remodeling. While it is not a necessity, it does add to the overall look and feel of your remodeled kitchen and has become somewhat of a must item in every kitchen renovation, especially here in Los Angeles. Our goal is to share with you how backsplash tile should be installed and list some of the most popular types of tiles out there.

Kitchen backsplash tile is the element where you can allow your imagination go wild and bring out the beautiful features of your kitchen. The different tiles also come in different shapes to name a few: rectangular, square, circular, diamond, random, herringbone pattern and chevron pattern. Whatever the style, type, and shape, home renovation contractors will assist you with all of your kitchen backsplash installation needs.
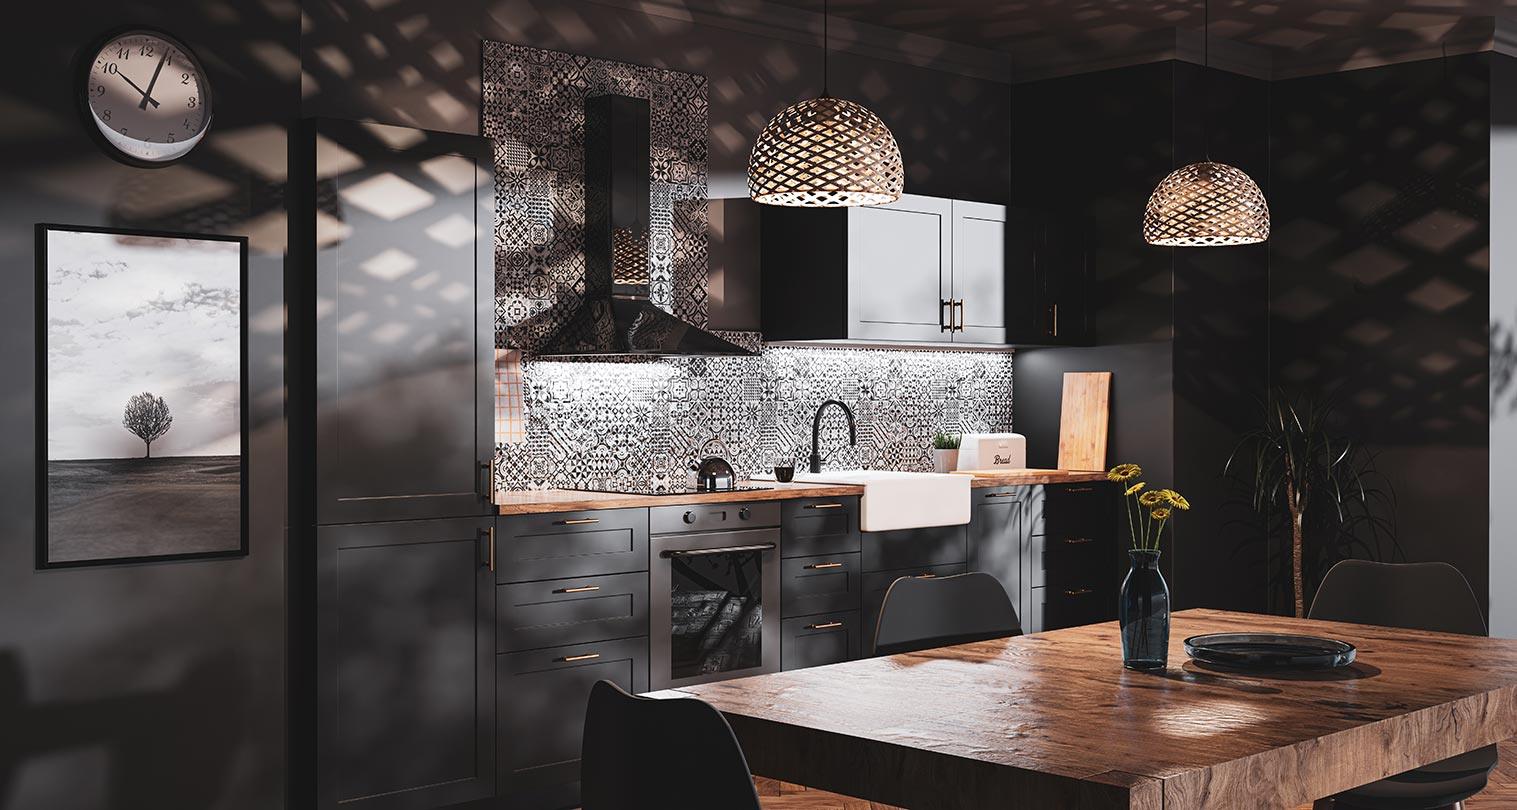
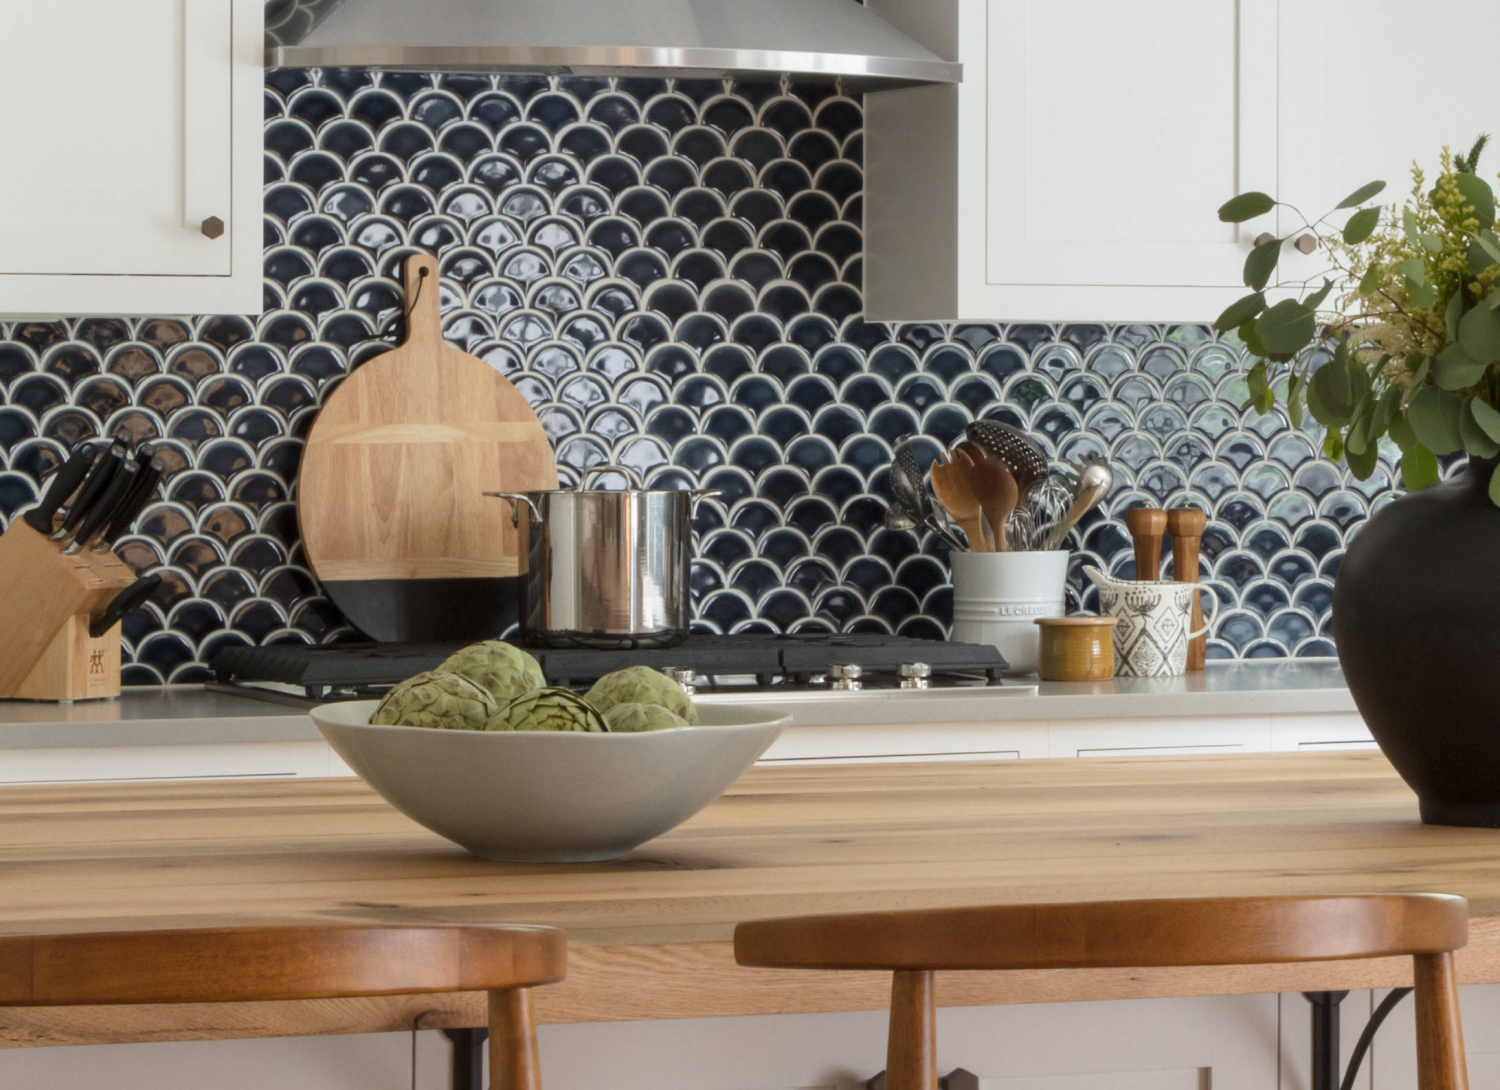

Durable and available in countless colors and patterns. It’s a classic choice and relatively affordable.
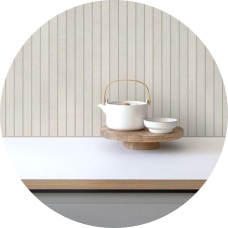

Similar to ceramic but denser and more water-resistant. It’s great for high-traffic areas.
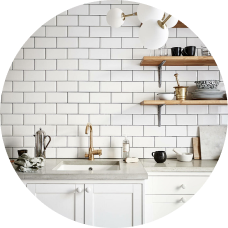

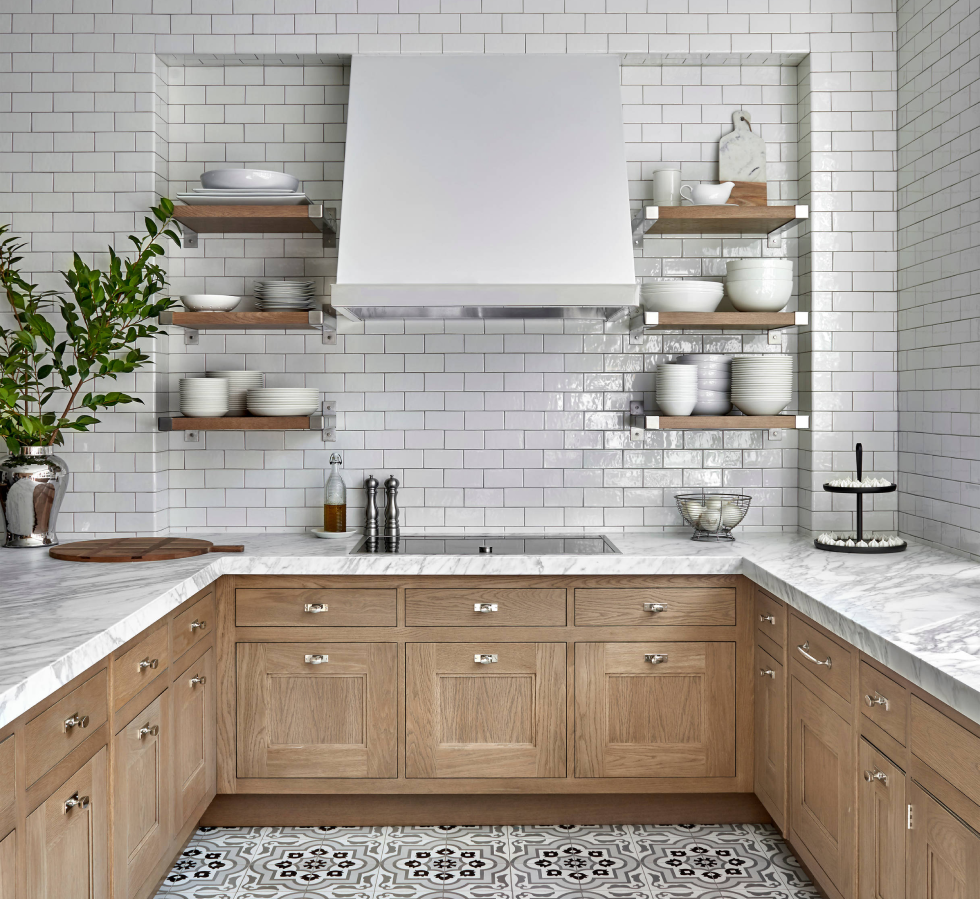
A specific type of ceramic or glass tile that is rectangular and often used in a classic, brick-like pattern.
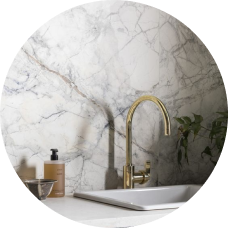

Elegant and luxurious, but requires regular maintenance to avoid staining and etching.
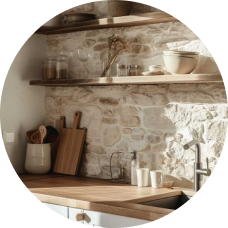

Includes options like slate or travertine. These can add a natural, textured look but may require sealing.
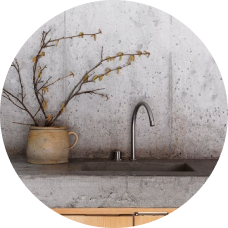

Offers a modern, minimalist appearance and can be customized with different finishes and colors.

To properly execute your kitchen backsplash ideas when you renovate, it is vital that we first take proper measurements to make sure you purchase enough material. If your kitchen backsplash is going to cover a simple rectangle of wall, then our measurements will just be height x width. If your backsplash will run through multiple, different sized areas, we will want to measure each section individually and then add those measurements together. Once we have your total square footage, as a good rule of thumb we typically add about 10 percent to that number to account for the quantity of material needed for the tile installation. This figure also accounts for any small areas you need to fill and to keep as a backup if you need to do any replacements down the road.
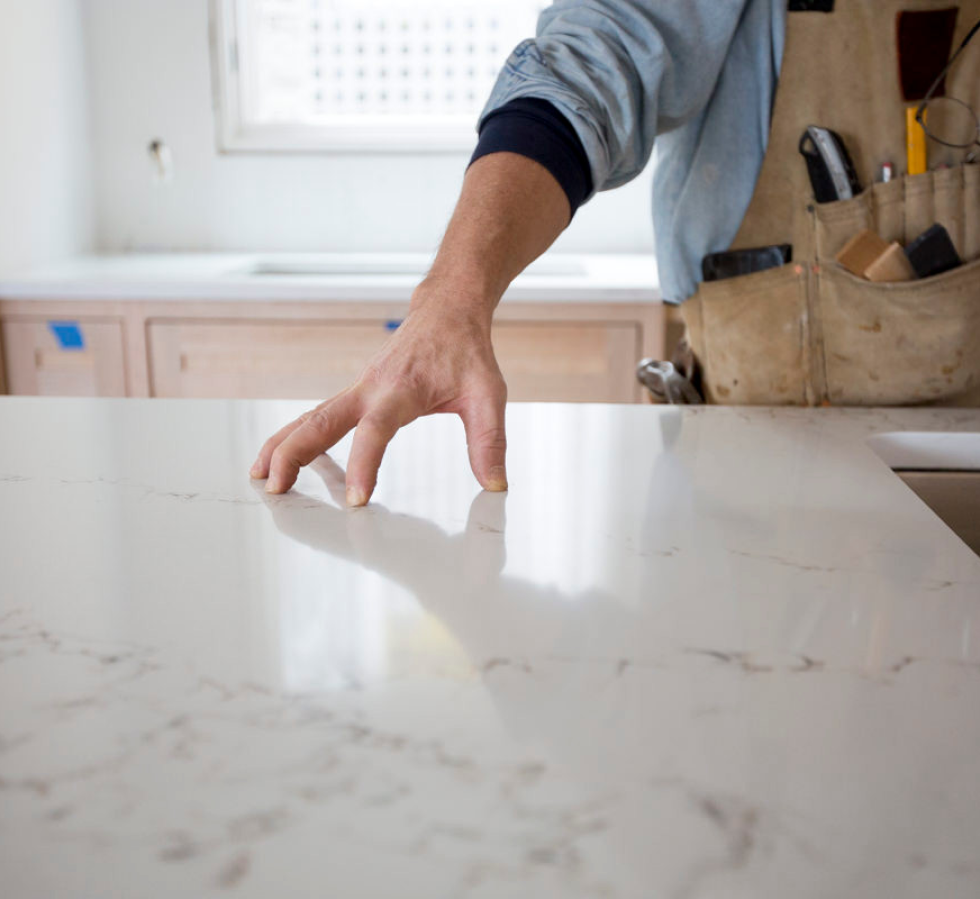
We remove all appliances and cookware from your countertop before we start to tile a backsplash. We may need to move the stove slightly away from the wall so you can easily place tile behind it. We also place a layer of cardboard or heavy-duty craft paper over your countertop to protect it from debris. For further protection, we tape off the existing outlets, countertops, and the underside of the cabinets to protect those surfaces.
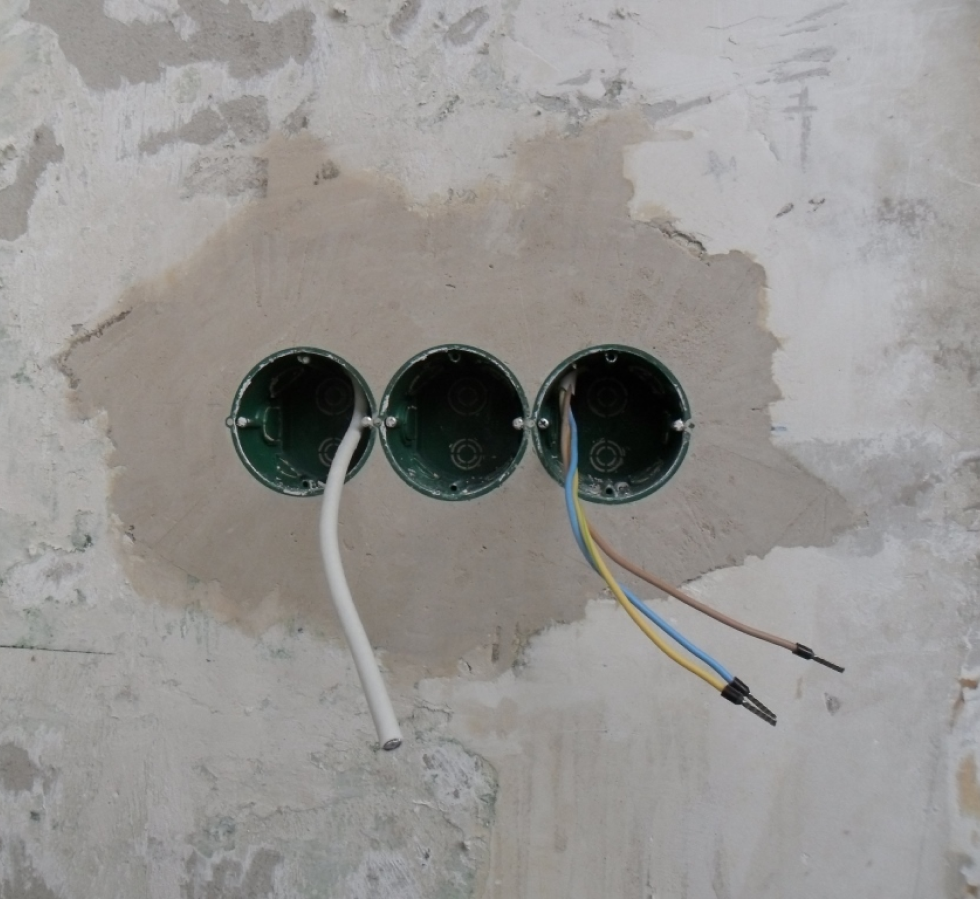
Lastly, we shut off power to any nearby electrical outlets or light switches and then remove the cover plates.
Next, we make sure to patch holes in the drywall in case there are any. Once the walls are patched and smoothed, we use mild soap and water to clean the walls and allow the surface to dry. Glossy surfaces are typically sanded and de-glossed with a mixture of trisodium phosphate (TSP) and water according to the manufacturer’s instructions.

This stage is extremely important for your backsplash installation and starts by finding the center of the wall that best suits your tile selection. Once we find the center, we mark a vertical line. Some tile patterns work best when centered on a focal point, such as the faucet or stove.
Next, we keep a 1/8-inch expansion gap around the perimeter where the tile meets the cabinets and countertops.
Next, we lay the tile horizontally on the countertop (without gluing it) along the wall using spacers to check the ends and make sure everything fits. At times tile will need to be cut to fit a certain space. If cut tile will be too narrow, we adjust the layout to allow us to cut wider pieces at both sides.
Next, we check the vertical layout. Our goal is to cut the tiles in a way that they are best hidden under cabinets, but we may have to cut from the bottom in case the countertop is not leveled.
First, we use a level to find the lowest point of the countertop. We hold a tile at this spot, accounting for a 1/8-inch expansion gap. We mark the wall at the top of the tile and then use a level to extend the line along the work area. This line serves as our cutting guide to fit tile along the counter.
To see where the tile will end at the top of the installation, we make a jury stick and mark a straight board using the tile and spacers for the vertical layout. We hold it up to the wall to check. If we get tiny slivers of tile at the top, we adjust the layout downward and redraw our reference line.
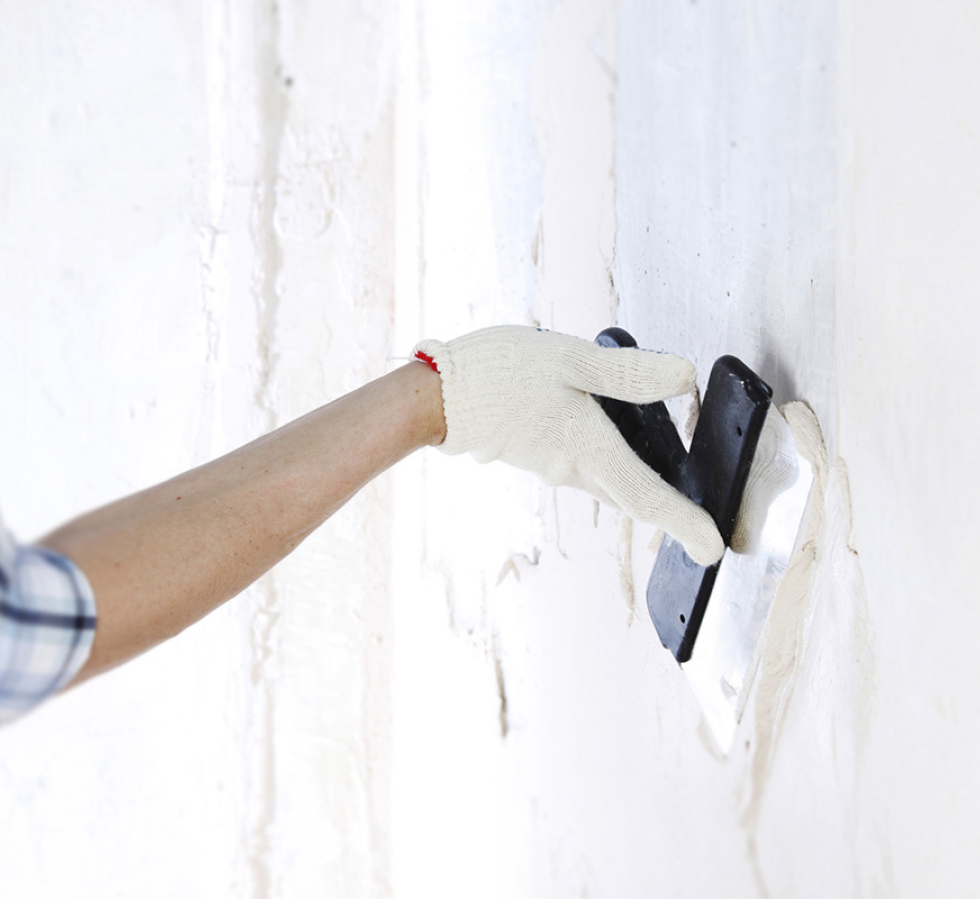
Option 1: Mix the mortar AKA as thin set. Mortar is the bonding material which allows the tile to attach to the wall. To prepare powdered thinset mortar for natural stone and mosaic tile, we fill a bucket with water in the amount listed on the package and then gradually add the thinset powder, mixing it thoroughly. We let the mixture stand for 5 to 10 minutes, then mix it again without adding more water. When we are finished mixing, we have limited time to use it. Flex-type mortar can generally be used up to 4 hours after it has been mixed. Next, we spread the mortar on a small section of the wall with a drywall trowel. It is important to work in small sections because thinset and other tile adhesives dry quickly. Lastly, we comb over it with a notched trowel.
Option 2: Peel-and-stick tile backsplash mats are also available that bond instantly to wall surfaces when pressed firmly with a grout float. This type of stick-on tile backsplash allows us to tile and grout the same day, replacing traditional thinset and simplifying tile installation. We use the mats on clean, flat, indoor surfaces such as backsplashes, countertops, and tub or shower walls. We avoid using them for floors, ceilings, fireplaces, steam rooms, shower floors and surfaces that will be submerged in water. Mats do not replace waterproofing products for tile. It is important to follow the manufacturer’s instructions for installation details.
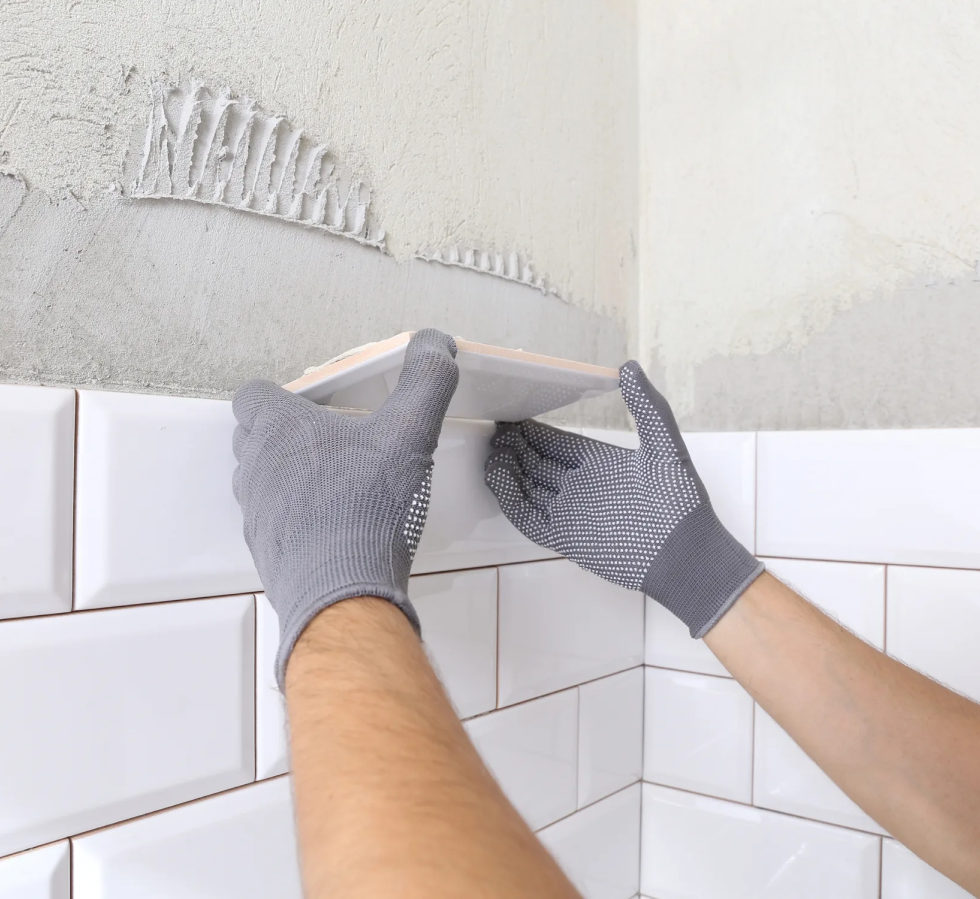
We press the first piece of tile into the wall with a little twist, leaving a 1/8-inch expansion gap at the countertop. We then press against it with a rubber float to seat it in the adhesive.
Working in small sections, we repeat the procedure with additional pieces using spacers to ensure even spacing. In case we need to make a cut, we mark the tile. For larger tile cuts, we set the tile in a tile cutter, mesh side up, and score the face. We break each piece along the line. For smaller tile cuts, we use nippers.
We apply grout diagonally across tiles using a rubber float to press it into the joints. We wait approximately 10 minutes and then wipe away the excess with a sponge using a diagonal motion. We make sure to rinse our sponge often as a slight haze may form, although it will clean away later with a haze remover.
We allow grout to dry according to the manufacturer’s instructions, and we then apply grout sealer also according to the manufacturer’s instructions.
We reinstall the outlet covers back to the original place and fill the expansion gaps with caulk or silicone sealant.
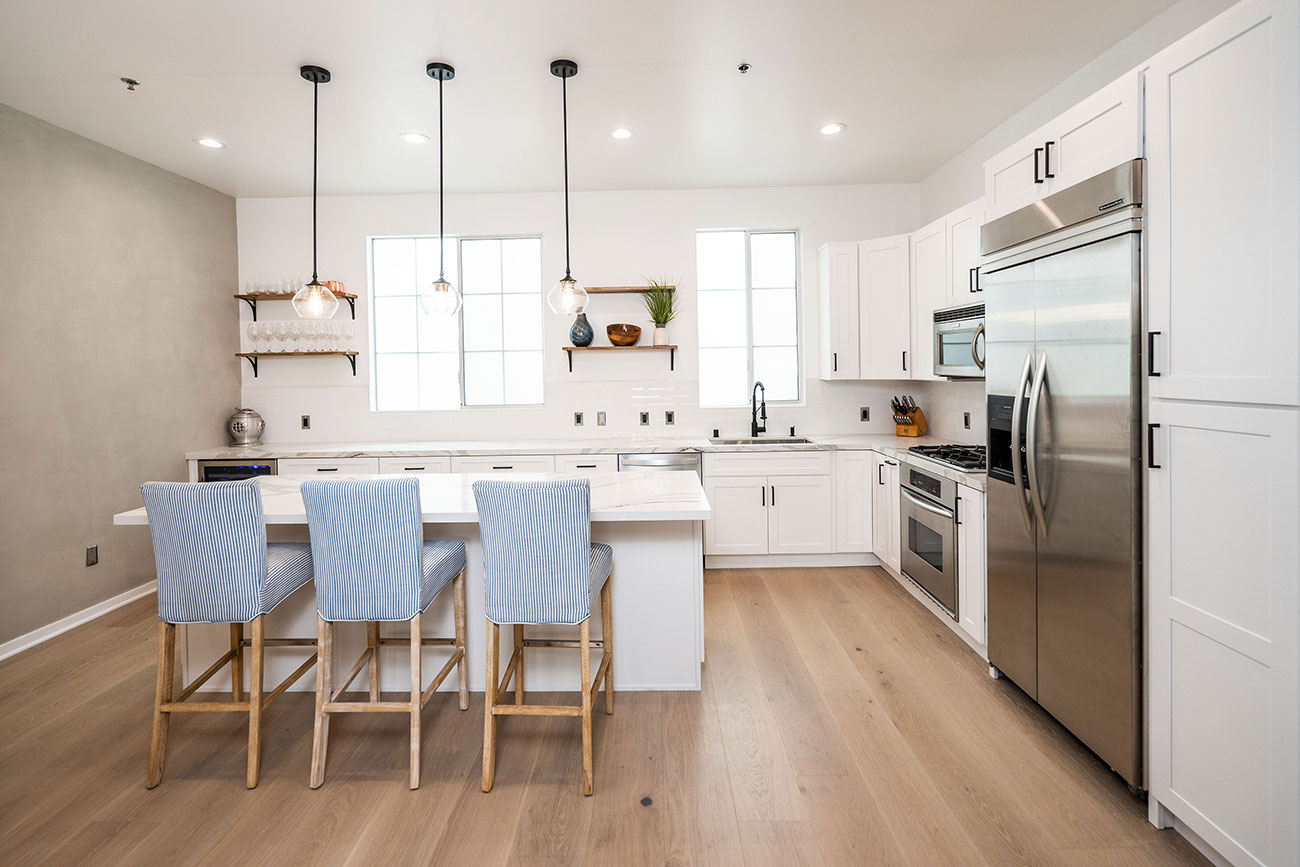


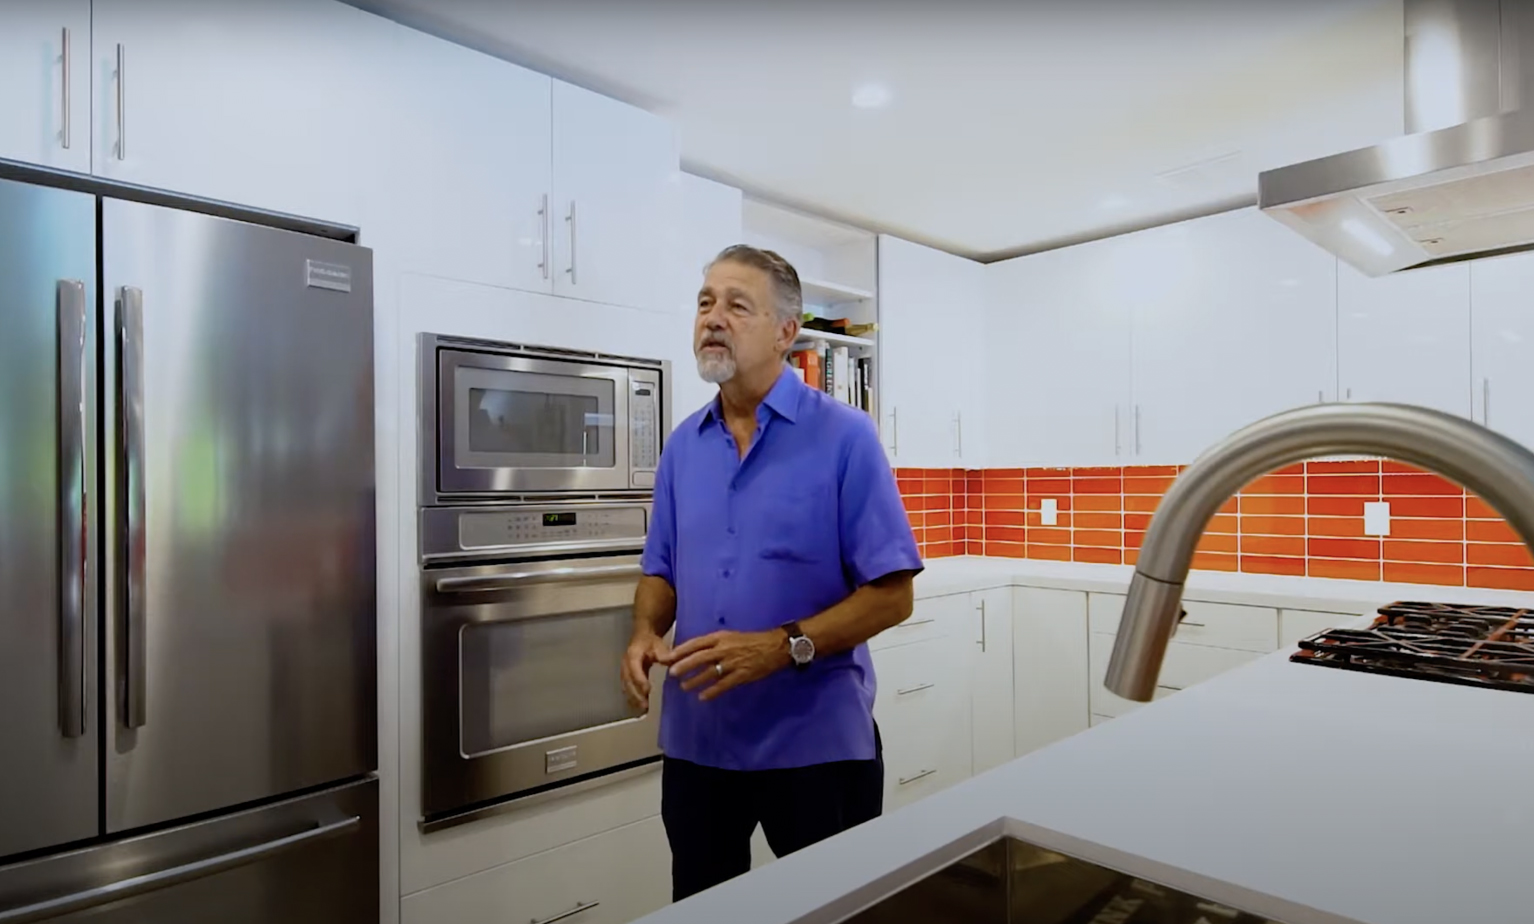
Glass tile backsplashes work well with any style of kitchen from traditional to modern. They provide a sleek clean look which is both playful and classy. Glass tile kitchen backsplashes have a cool, sophisticated look. The reflective surface of glass returns light and brightens the kitchen. Colors in glass tile tend to be especially strong, and they never fade. Glass tile can cover a large area quickly and is available in mosaic tile or subway sheets. Glass is naturally non-porous so it never needs to be sealed. However, the grout between tiles should be sealed for stain-resistance, just as with ceramic or porcelain tile.
Like ceramic, glass is very easy to clean and maintain. One thing to consider is that while glass tile is a beautiful option for any kitchen, it can be expensive.
Ceramic tile is the most common type of backsplash used and can create a beautiful focal point in any kitchen. It is affordable, lightweight, durable, and easy to install in your kitchen. There is a wide variety of color choices, sizes, and geometric patterns available. It is very easy to clean and relatively inexpensive.
Metal backsplash tile once meant only one thing: large tin ceiling tiles re-purposed for the wall. You will still find this in use, although it’s not as popular as it was in the past. More recently, there has been a growing trend of smaller metal tiles in all sorts of textures and finishes.
An example of the above includes clients buying brushed stainless steel subway tiles instead of the white ceramic subway tiles which were very popular. Metal tiles stick easily to the wall with a mastic or even double-sided tape (which may not hold very well and is not recommended). One downside is that metal tiles can scratch, and the scratches cannot be sanded out.
Travertine is a natural stone and it’s lighter and easier to install than manufactured stone veneer tiles. It belongs to the older and traditional kitchens. It comes in rectified tiles from 4-by-4-inch up to 18-by-18-inch, though 12-inch squares are the largest tiles you will want to use for backsplashes. Even though travertine is a form of limestone which has a heavily pitted surface, the pits are typically filled in and honed smooth.
Also, because travertine is natural stone, it should be sealed periodically with a stone sealant to prevent staining.
Stone veneers provide for premium look without having to deal with real stone, which is heavy and hard to cut. Furthermore, stone veneers are typically less expensive than real stone. Most homes use what is called manufactured stone veneer which is a man-made product composed of cement, aggregates, and iron oxides.
The main problem with veneer stone backsplashes is that they are porous and will absorb food splatter, especially oils, and will stain. Once they have become stained, they are hard to clean. Even if you do manage to seal the veneer, its stone is bumpy, uneven, and exceedingly difficult to wipe down.
Even though some veneer stone tiles come in 12-by-12-inch mesh sheets, they can be difficult to install. While this material is not as hard to cut as real stone, veneer stone pieces can still be tricky for novices. Also, adhering the stone to the wall is difficult due to the weight of the material. One good thing, though, is that the stone does not need to be grouted, saving one step in the installation process.
Marble tile is a luxurious add-on to any kitchen design but can be pricey compared to other options. Marble tile is easy to clean and is a beautiful compliment to any cabinet or countertop color. If you are looking to put marble in your kitchen, be aware that it may need frequent sealing to maintain its appearance, as it can chip, crack, and stain very easily.
Natural stone backsplashes are a great way to add simple elegance to any kitchen. Whether it is granite, quartz, or marble, many homeowners choose to use the same stone material they used for their countertop in their backsplash. This can really transform the look of your kitchen design but can be pricey depending on the type of stone you use, as well as the quantity. If you are looking for a truly high-end custom look, try using a stone slab all the way up the back wall of your kitchen. Another option is to ask for a stone backsplash to go only slightly higher than the countertop, leaving the rest of the wall bare. Once installed, we can then finish the look with a tile backsplash of your choice or a beautiful wall paint color. Natural stone backsplashes are a very versatile and durable material, but some will require a sealer to prevent staining and damage. When choosing a natural stone backsplash, be sure find out about the type of maintenance required to keep your backsplash looking great.
 Top Trends in Kitchen Backsplash Design for 2023
Top Trends in Kitchen Backsplash Design for 2023 It’s 2021, the year for kitchen tile ideas that reach the moon and back. Regardless if you are looking to make small changes in your kitchen with tile or you are ready to tile everything from the roof to the ceiling, this guide will provide you with the inspiration…
Continue reading How to Plan a Kitchen Remodel: Cost and Ideas
As nice as it can be to picture the end results without all the messiness in between, a kitchen remodel is a major (sometimes daunting) project. Before you jump in, it helps to know the basics. From the logistics to the budget to the layout, learn more about how to plan for it all. Renovation…
Continue reading Wow Kitchen Design Ideas
Love your kitchen but hate its design? You’re not alone. Kitchens and baths have always been top-selling points for home buyers looking for the perfect investment. And if these areas are outdated or awkward, most buyers will pass. If it’s time to pump up the pizzazz in the heart of your family’s home, try these…
Continue reading